
Public IP for Access to Kubernetes Application in Jelastic PaaS

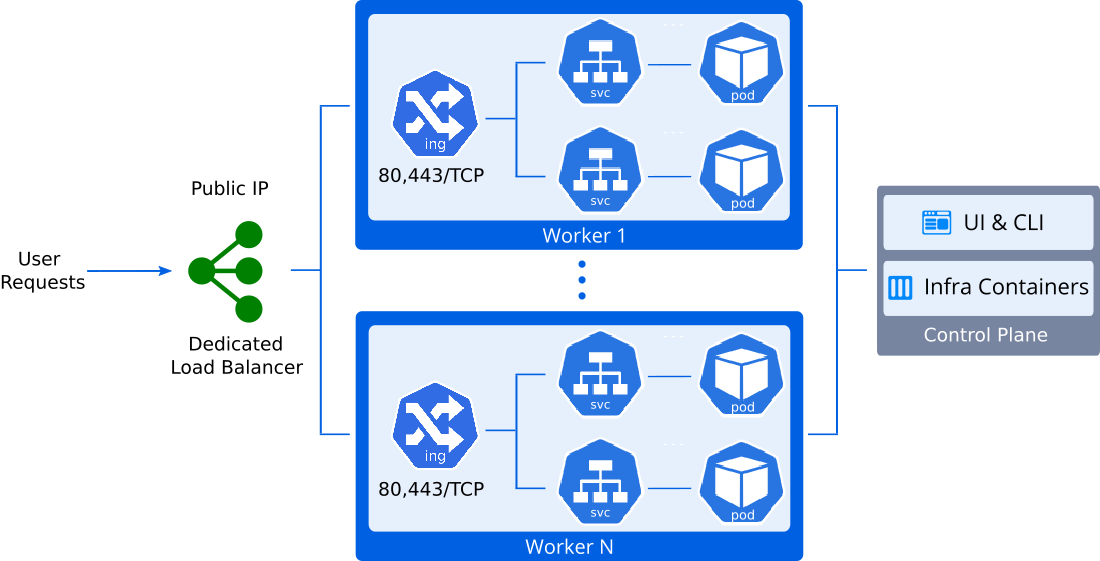
In this post we’d like to show how to expose applications via a public IP address attached to one of the nodes of a Kubernetes cluster environment in Jelastic PaaS. It can be done in two possible ways - attaching IP to Dedicated Load Balancer or to K8s Worker node.
Dedicated Load Balancer for Application Access
1. First of all, install the Kubernetes cluster from Jelastic marketplace and deploy the application. As an example, we go with Jakarta EE Cargo Tracker.
2. Click Change Environment Topology next to your Kubernetes cluster. In the opened window add a Dedicated Load Balancer node and attach a public IP address to it.
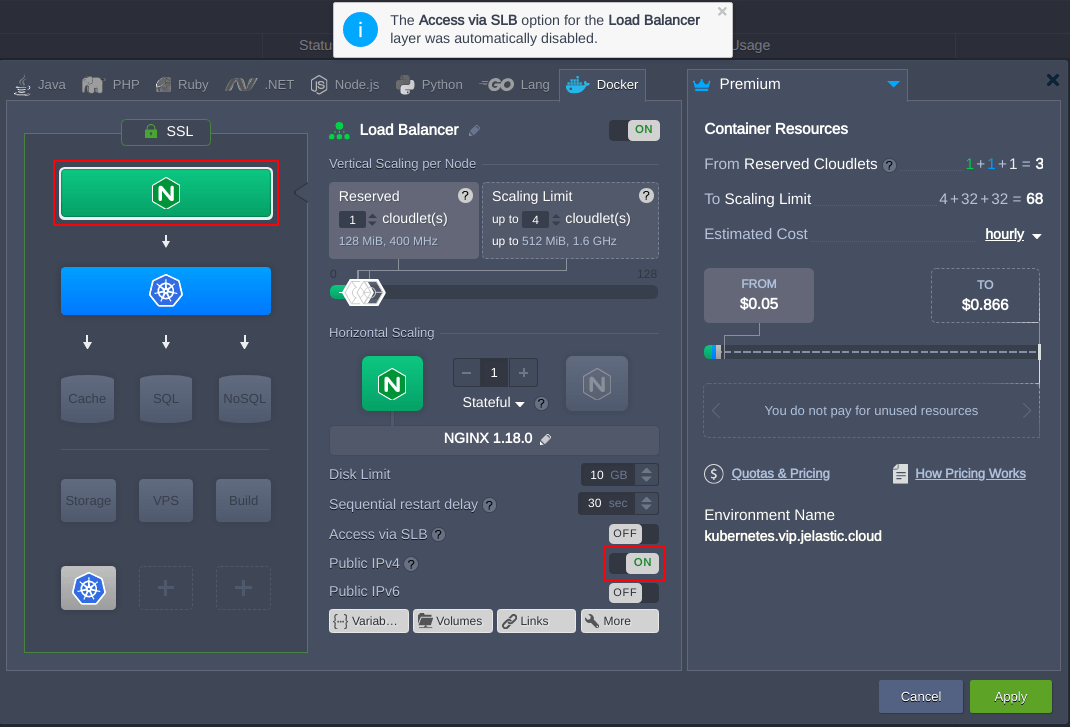
Here we use the NGINX load balancer node, but you can choose any other available (HAProxy, LS Web ADC, Varnish). Once the topology is changed it should look like as follows:
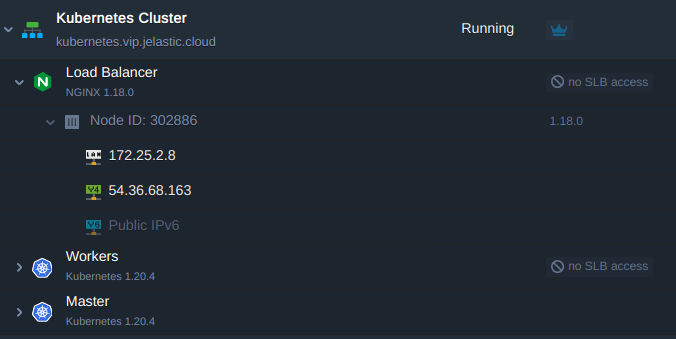
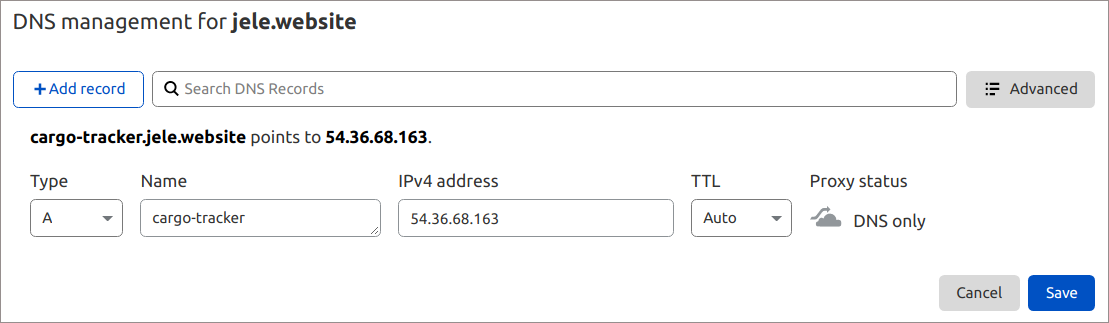
3. After that, create an A record for a custom domain using the IP address added at the previous step. For example cargo-tracker.jele.website.
4. Now you may bind the custom domain to the K8s cluster and send a request to issue a trusted Let’s Encrypt SSL certificate to secure applications’ traffic.
- Go to the load balancer Add-Ons and find Let’s Encrypt Free SSL.
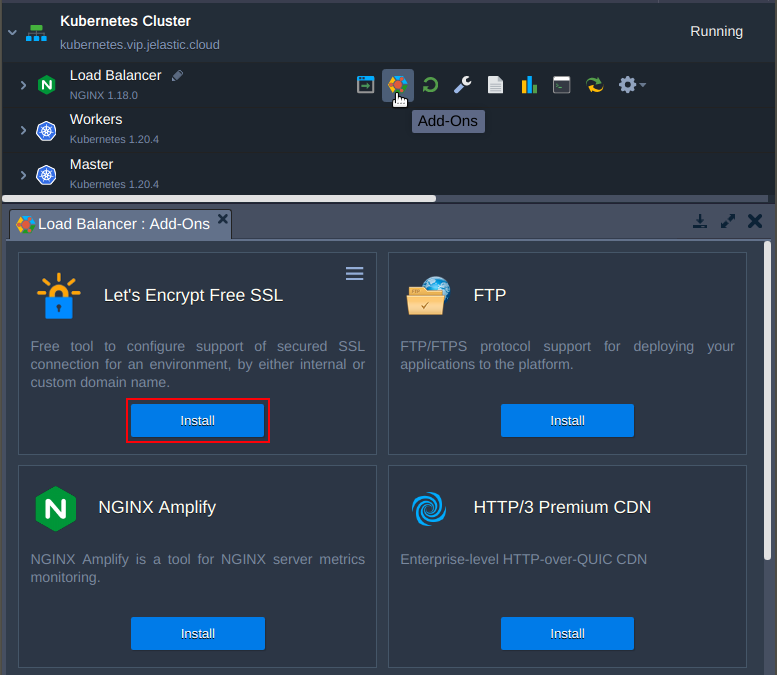
- Enter the custom domain name that we have came up with and apply it.
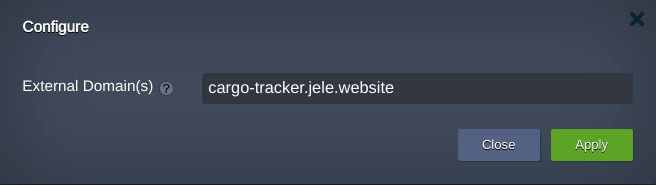
Now the Cargo Tracker application is available using a custom domain name https://cargo-tracker.jele.website and traffic is encrypted with the valid Let’s Encrypt SSL certificate.
Kubernetes Worker Node Public IP Address for Application Access
Let's take a look at another way to make application available outside of the Kubernetes cluster. The essence of this method is to make it directly accessible through a public IP address attached to one of worker nodes.
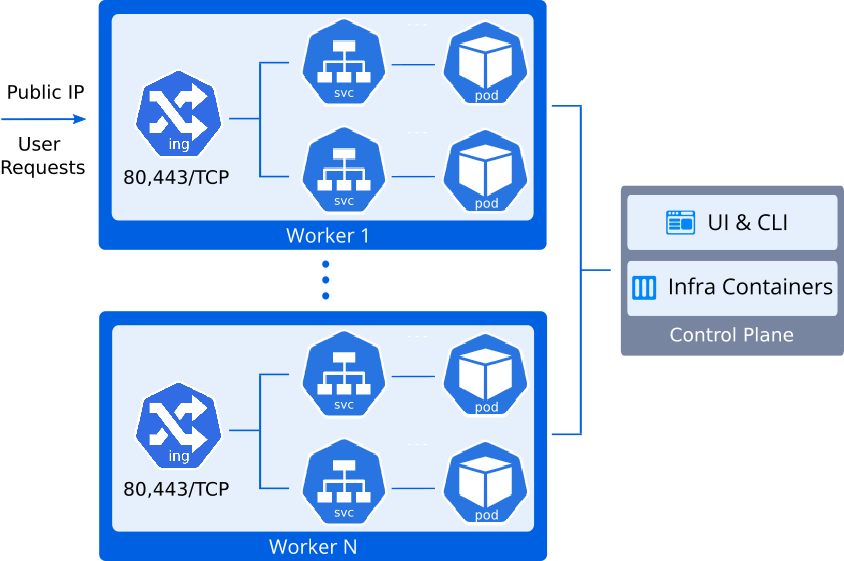
Let’s proceed on the same cluster with the Cargo Tracker application deployed.
1. Click Change Environment Topology and add the public IP address to the worker node.
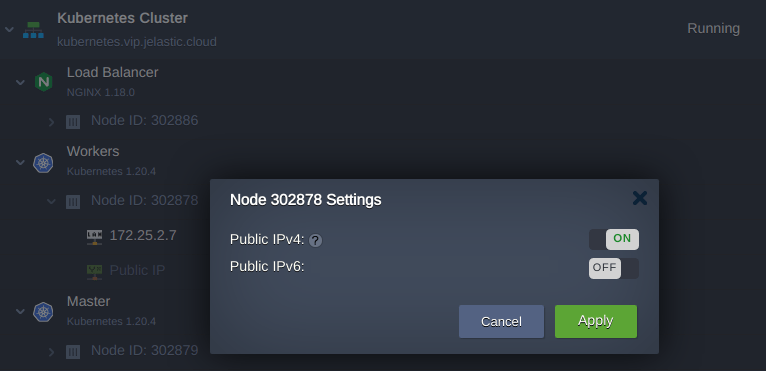
2. Create the A record for a custom domain mapping to the newly added IP address. Use a domain name different from that one used in the previous chapter. For example: cargo-tracker-worker.jele.website.
3. Then, go to the add-ons of the Control Plane node and install Certificate Manager. Along with a cert-manager controller there will be installed an NGINX ingress controller with LoadBalancer service type. It will hold the IP attached to the worker node, and will be serving the “nginx-cert” ingress class resources.
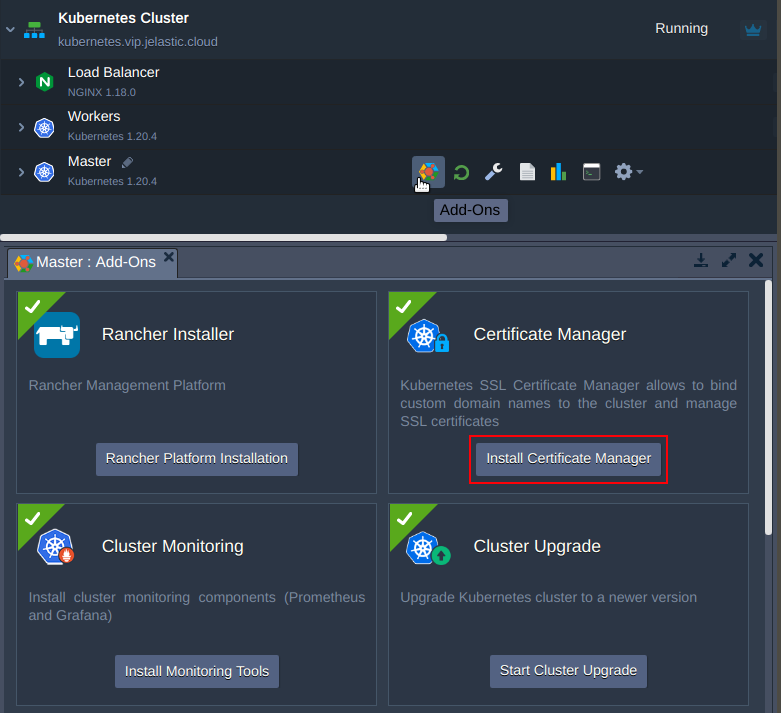
4. Enter the custom domain name and apply it.
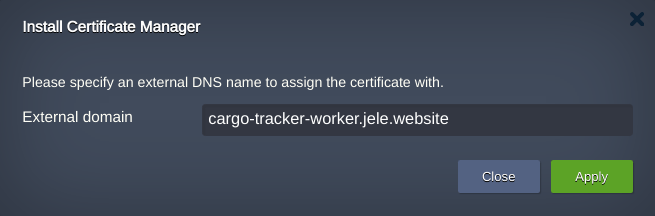
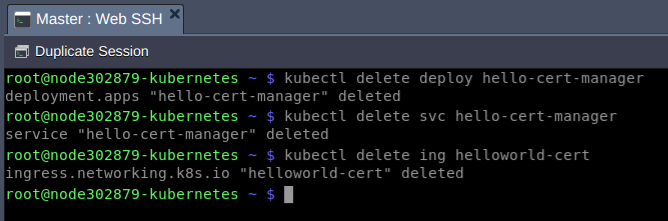
5. Upon installation, the add-on installs a test application helloworld-cert. Let’s delete the resources it takes:
$ kubectl delete deploy hello-cert-manager
$ kubectl delete svc hello-cert-manager
$ kubectl delete ing helloworld-cert
6. Finally, create an ingress resource <strong style="margin: 0px; padding: 0px; text-rendering: optimizelegibility; box-sizing: inherit; font-style: inherit; font-variant: inherit; font-weight: bold; font-stretch: inherit; line-height: inherit; font-fa
